
Jan 29, 2026

Setting up your own TAK Server opens up a world of possibilities for real-time situational awareness and team coordination. Whether you’re running ATAK, WinTAK, or iTAK clients, having a private backend gives you complete control over your tactical network. This guide will take you through the entire process of building and configuring a TAK Server from scratch on a Raspberry Pi 5.
This comprehensive tutorial will guide you through every step, from preparing your SD card to connecting your first clients. By the end, you’ll have a fully functioning TAK Server capable of supporting approximately 100 users for basic situational awareness and chat functionality. This tutorial is possible thanks to Mark Halliday from Mini Workgroups Ltd.
As usual, you can follow along with the written tutorial, or the video from the official livestream.
Hardware Setup and Prerequisites
Before diving into the installation, you’ll need to gather the necessary hardware and software components. The foundation of this build is a Raspberry Pi 5 with 8GB of RAM, which provides adequate processing power for a small to medium deployment.

Requirements:
Hardware
Raspberry Pi 5
Micro SD card (8GB minimum, 128GB recommended)
Micro SD to USB adapter
Router with administrative access
Software
Raspberry Pi Imager (from official Raspberry Pi website)
PuTTY (for SSH access on Windows)
WinSCP (for secure file transfers)
TAK Server software package from tak.gov (version 5.4-RELEASE101 recommended for stability)
We will be using Windows for this build. Although it is not required to get a TAK Server up and running, it will required if you want to follow the tutorial.
The choice of Raspberry Pi OS deserves special attention. A recent update to the Raspberry Pi operating system changed the default from Bookworm to Trixie, which ships with Java 21. However, TAK Server currently requires Java 17 to function properly. This means you must select the legacy Bookworm version during the imaging process to avoid compatibility issues that won’t be obvious from error messages alone.
Creating the Operating System Image

Launch Raspberry Pi Imager on your Windows PC and begin the configuration process. Select Raspberry Pi 5 as your target device, then navigate to the operating system selection.
Instead of choosing the default option, scroll down to “Raspberry Pi OS (Other)” and select “Raspberry Pi OS (Legacy, 64-bit) Lite.” The lite version provides a headless server environment without the overhead of a graphical interface. Make sure it’s the Bookworm version before clicking [ Next ].
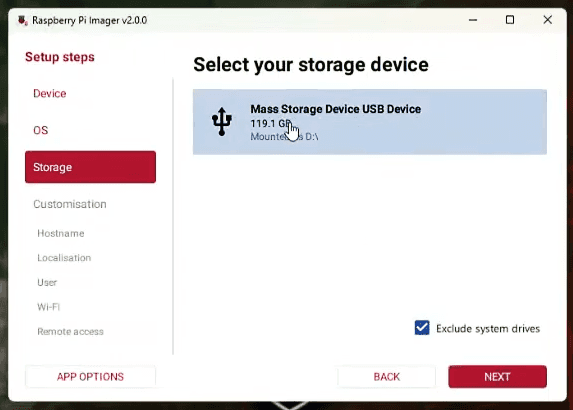
Click on [ NEXT ] and then select Mass Storage Device USB Device. Hit [ Next ] again and enter a hostname such as “takserver” without including a domain extension. Set your timezone to UTC for consistency across deployments, configure your keyboard layout, and create a username. Following TAK conventions, use “takadmin” as your administrative user with a secure password that you document safely.
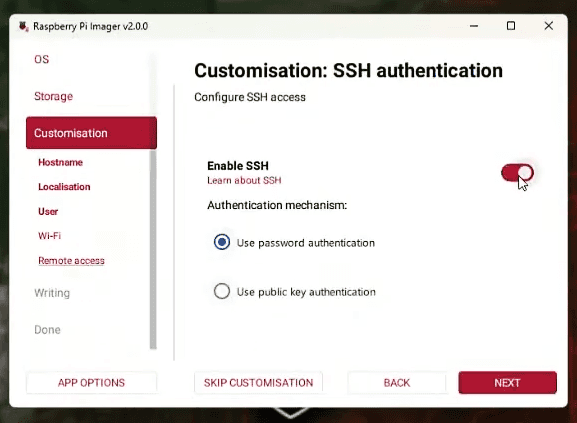
Skip the Wi-Fi configuration since you’ll connect the Pi directly to your router via Ethernet. Most importantly, enable SSH access with password authentication under the remote access settings. This allows you to connect to your server remotely once it boots.
Write the image to your SD card and wait for verification to complete. The imager will eject the card automatically when finished. Insert the card into your Raspberry Pi and connect it to your network.
Network Configuration and Router Setup
Once your Raspberry Pi boots, connect to your router’s administration interface to locate the device. Find the IP address assigned to your TAK Server, in our example, this was 192.168.8.10. Configure your router to assign a static IP address to the Raspberry Pi’s MAC address, ensuring consistent connectivity across reboots.
Creating a DNS entry on your router simplifies certificate management later. Navigate to your router’s DNS or hosts configuration and create an entry mapping your chosen hostname to the static IP address. For example, map “takserver.mwg.lan” to 192.168.8.10. This local domain resolution enables your Windows PC and other devices on the network to reference the server by name rather than IP address.
Reboot both your router and Raspberry Pi to apply these network changes before proceeding.
Initial System Configuration
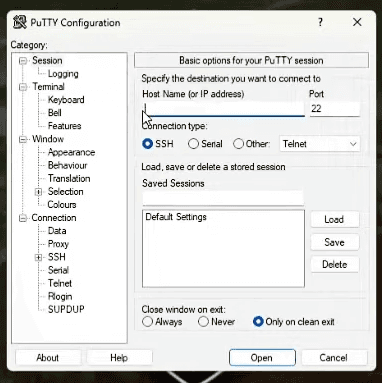
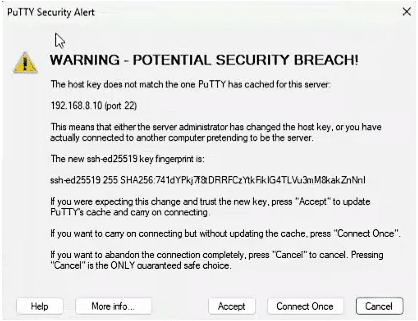
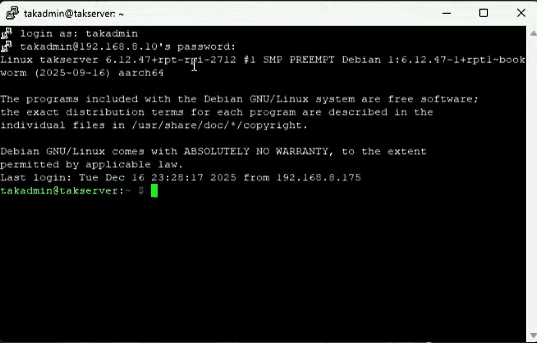
Connect to your Raspberry Pi using PuTTY with the static IP address you configured. Accept the SSH key when prompted and log in with your takadmin credentials.
The first configuration tasks require root access. You will have to elevate your privileges with sudo su (NOTE: you may have to use sudo before each command depending on system settings). The first system configuration task uses the built-in raspi-config tool. Launch the Raspberry Pi configuration utility to expand your filesystem and set the full hostname:
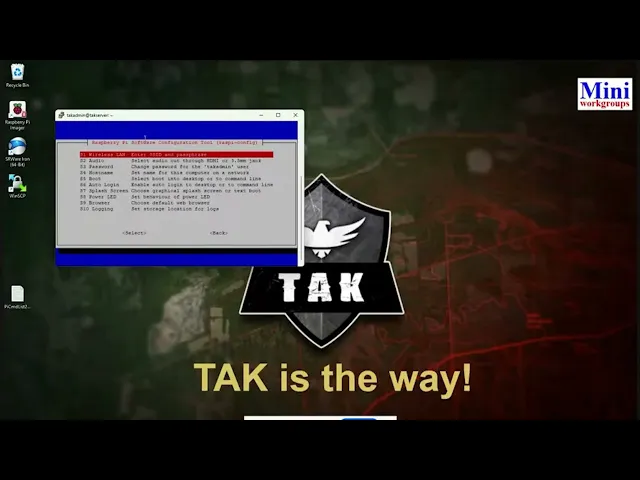
Navigate to Advanced Options and select “Expand Filesystem.” This critical step extends your two-gigabyte base image to utilize your entire SD card capacity. TAK Server requires at least eight gigabytes for installation, so this expansion is mandatory.
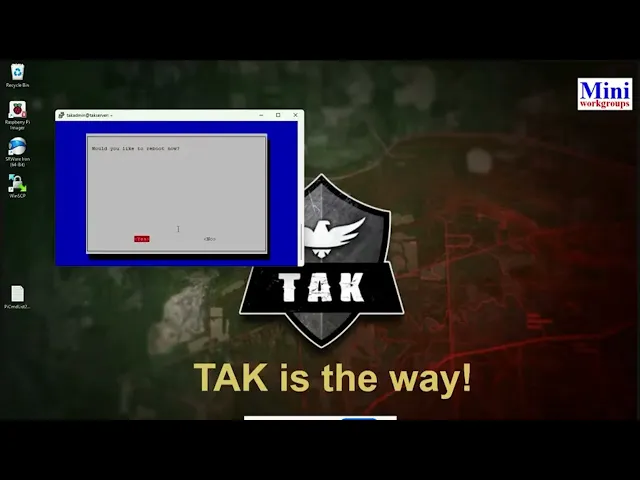
While still in raspi-config, navigate to the hostname setting and enter your fully qualified domain name, such as “takserver.mwg.lan.” This must match the DNS entry you created earlier. Exit the configuration utility and reboot to apply the filesystem changes.
Preparing the System for TAK Server
After reconnecting via SSH, update your operating system packages to ensure you have the latest security patches and software versions:
TAK Server requires increased file descriptor limits for the Java Virtual Machine. Add these limits to your security configuration:
The PostgreSQL database repository configuration requires special attention on ARM-based systems. Most TAK Server guides omit a critical detail, you must specify the ARM64 architecture explicitly:
Without the arch=arm64 specification, the system will attempt to download Intel or AMD packages that won’t execute on your Raspberry Pi, producing confusing error messages that don’t clearly indicate the architecture mismatch.
We will also need to get the security key for our PostGreSQL repo:
Update your package lists to include the new PostgreSQL repository and install Java:
Verify your Java installation:
Confirm the output shows JDK 17. If you see version 21, you’ve installed the wrong operating system and need to re-image your SD card with the legacy Bookworm version. Reboot your system before proceeding with the TAK Server installation.
Installing TAK Server Software
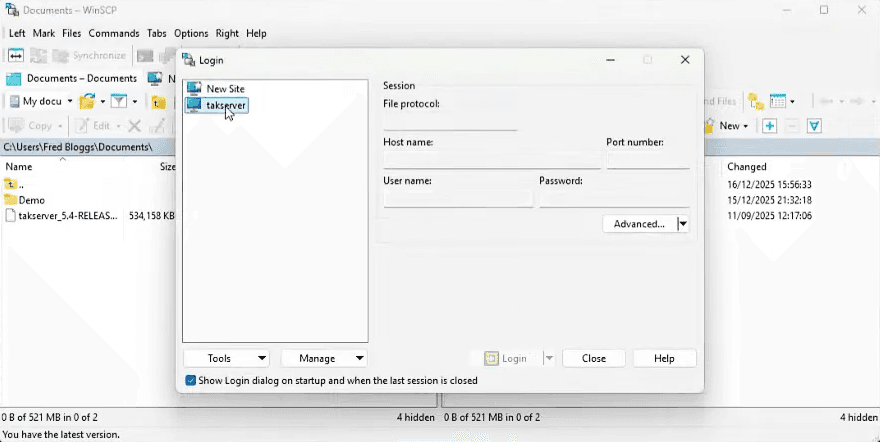
Use WinSCP to connect to your Raspberry Pi using the same credentials you use for SSH. Make sure to set your File Protocol to SCP when initiating the login.
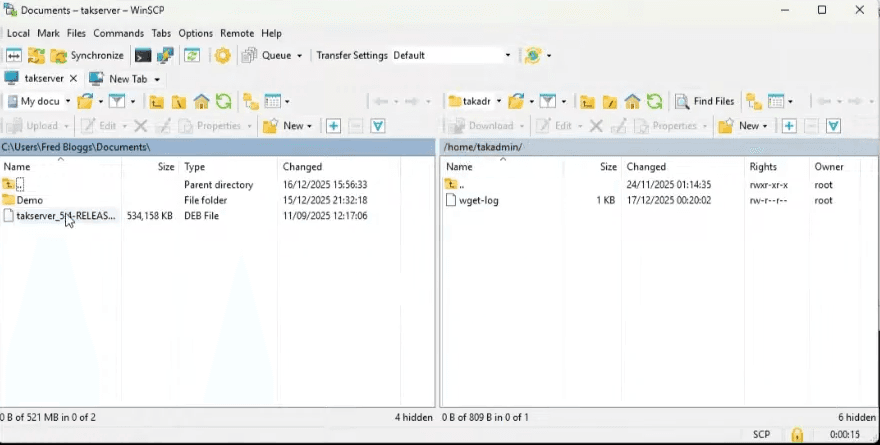
The interface displays your local Windows files on one side and your Raspberry Pi home directory on the other. Upload the TAK Server Debian package (takserver_5.4-RELEASE101_all.deb) to your takadmin home directory.
Most guides suggest installing directly from the home directory, but this causes permission errors when apt attempts to read the package. Instead, copy the package to the temporary directory and install from there:
The installation process downloads dependencies, installs and configures PostgreSQL, creates the TAK user account, and unpacks the server files to /opt/tak. This typically takes several minutes depending on your internet connection speed.
Certificate Authority Configuration
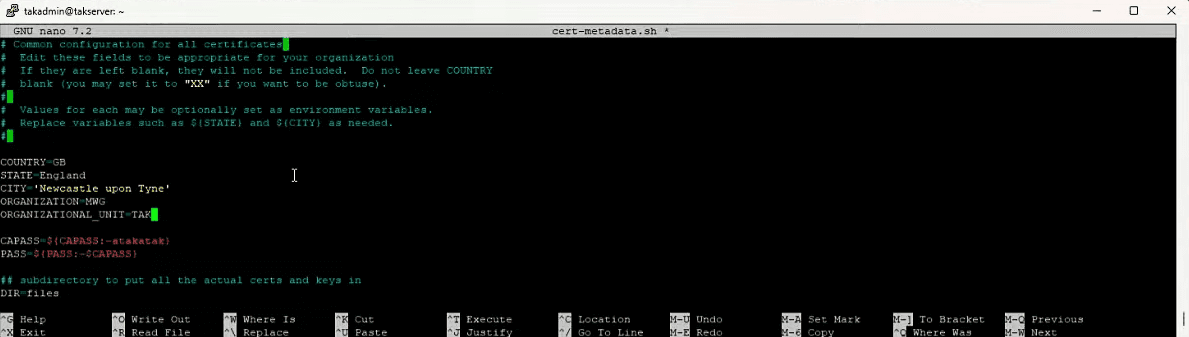
TAK Server uses a hierarchical certificate structure for secure communications. Switch to the TAK user account and navigate to the certificate directory:
Edit the certificate metadata file to reflect your organization:
Update the country code, state, city, and organization fields. Enclose values containing spaces in single quotation marks. For production deployments, also modify the default certificate passwords.
Generate your root certificate authority:
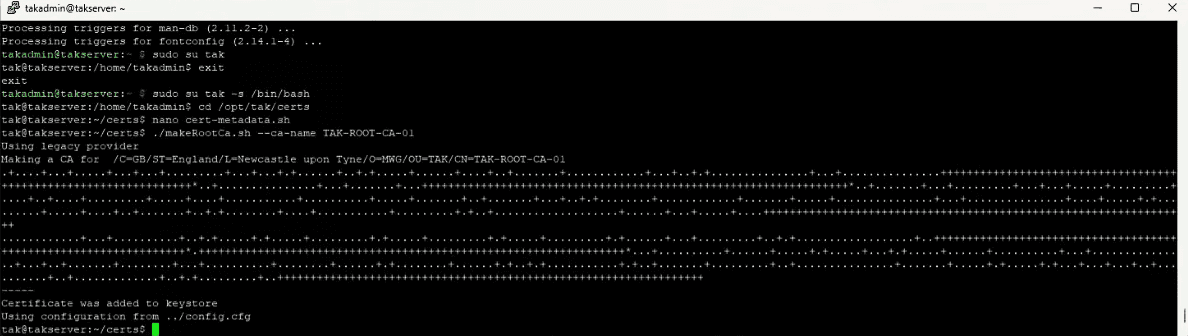
The naming convention includes a version number because root certificates have a ten-year lifetime. When renewal time comes, you’ll create TAK-ROOT-CA-02 to maintain tracking.
Create your intermediate certificate authority, which handles actual certificate issuance:
Select y in response to the “Do you want me to move files around..” prompt.
Update the TAK Server configuration to reference your new certificate authorities:
Generate your server certificate using the fully qualified domain name:
Update the configuration file to reference this server certificate:
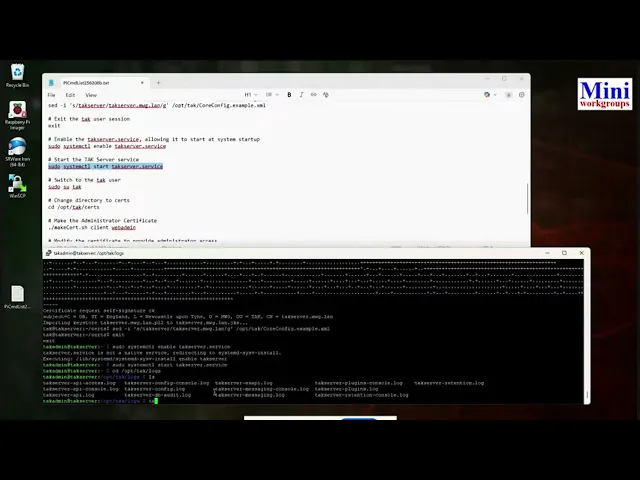
Starting and Configuring the Service
Exit the TAK user session and enable the TAK Server service for automatic startup:
The server requires several minutes for initial startup as it creates configuration files and initializes all services. Monitor the startup progress by watching the log file:
Wait until you see indications that all services have started successfully before proceeding.
Creating Administrative Certificates
Before we move forward. You can run a status check on the server with a systemctl status takserver command. In the Active field look for active (exited) .
If everything is set, navigate to the certificate directory and create an administrative user certificate:
This creates a basic user certificate that must be elevated to administrator status:
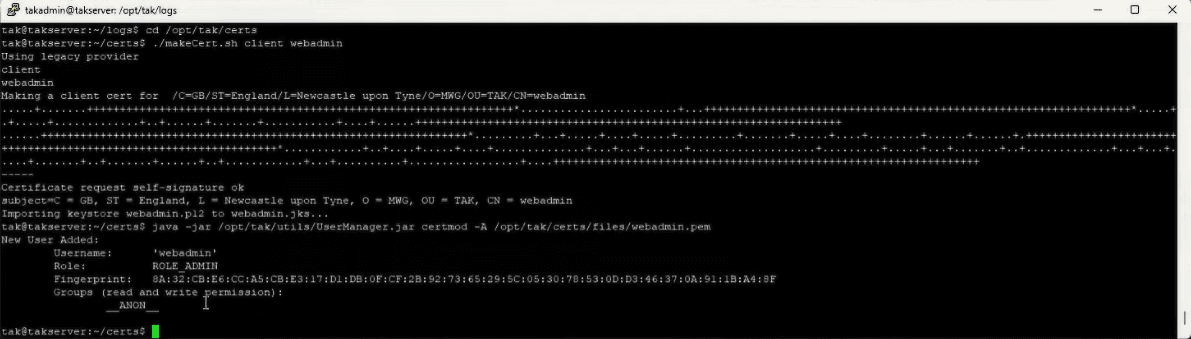
You can see on the last line we now have the role __ADMIN__ .
Copy the necessary certificates to your home directory for download:
Essentially what we’ve done is created root certificate authority, an intermediate certificate authority, and an administrative user certificate. By copying them into the admin user directory.
In total it’s our webadmin.p12, root-ca.pem and root-ca.crt , and our id key and cert, TAK-CA-01.pem and TAK-ID-CA.crt. The last command sudo chown -R takadmin: /home/takadmin consolidates ownership of all the files under the takadmin .
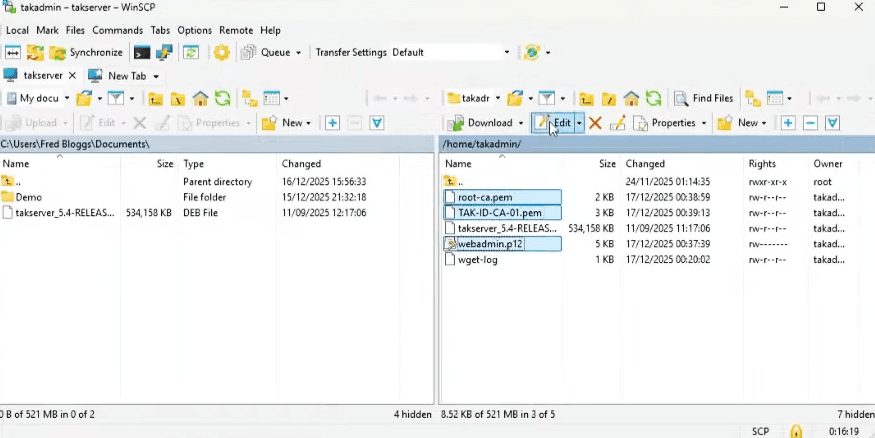
Head over to WinSCP and download the three certificates.
Windows Certificate Store Configuration
Open the Microsoft Management Console by searching for “mmc” and running it as administrator. Add the Certificates snap-in for your user account through File > Add/Remove Snap-in. Everything in MMC is managed through these Snap-ins and the one we want is Certificates.
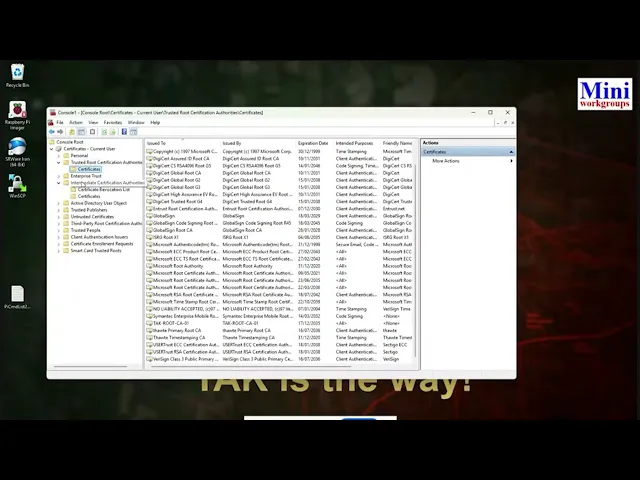
Import your certificates to their correct locations. The root certificate (root-ca.crt) goes into Trusted Root Certification Authorities. The intermediate certificate (TAK-ID-CA-01.crt) belongs in Intermediate Certification Authorities. The personal certificate (webadmin.p12) imports to the Personal store—enter the certificate password when prompted.
These certificate placements enable your browser to trust the TAK Server’s secure connections without displaying certificate warnings.
Accessing the TAK Server Interface
Open your web browser and navigate to your TAK Server’s administrative interface using the hostname you configured:
Select your web admin certificate when prompted. The TAK Server dashboard should appear, indicating successful installation. From here, you can manage users, create groups, configure data packages, and monitor server status.
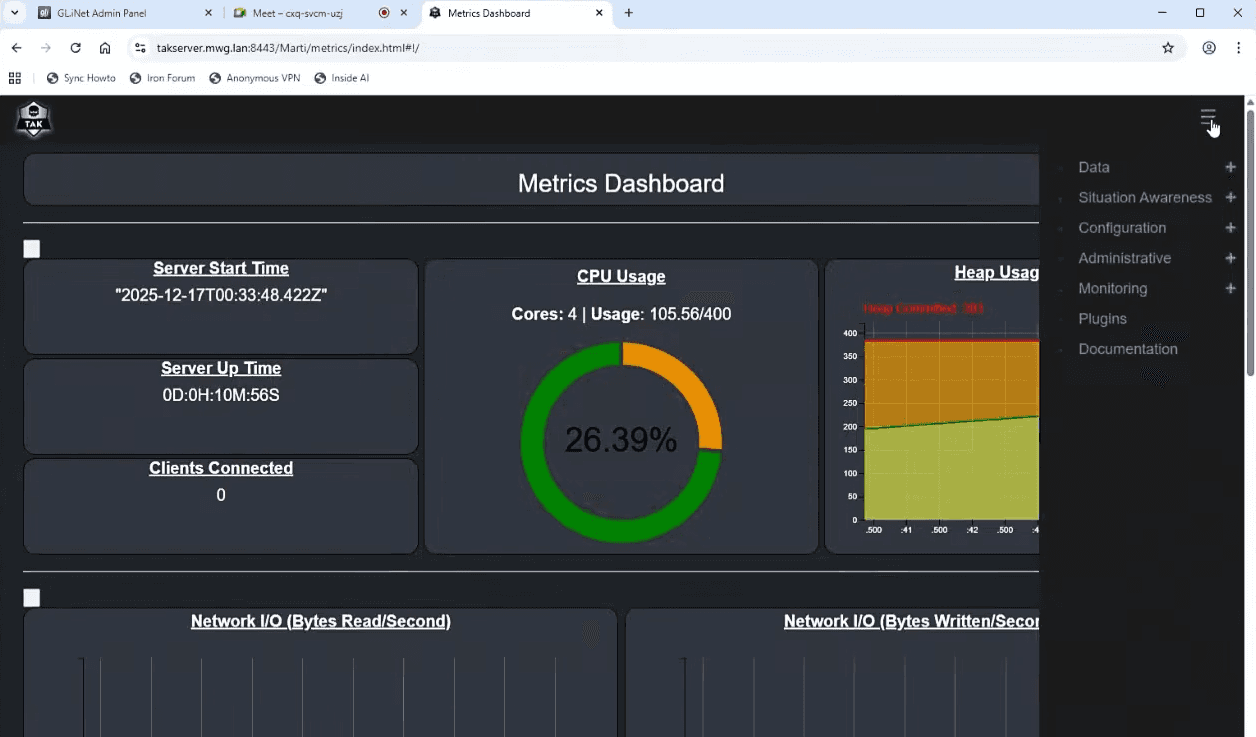
The web-based interface provides access to WebTAK for browser-based situational awareness, user management for credential provisioning, and administrative controls for server configuration.
Let’s explore a little. Open up Menu>Situational Awarenes>WebTak, and you can see the map interface.

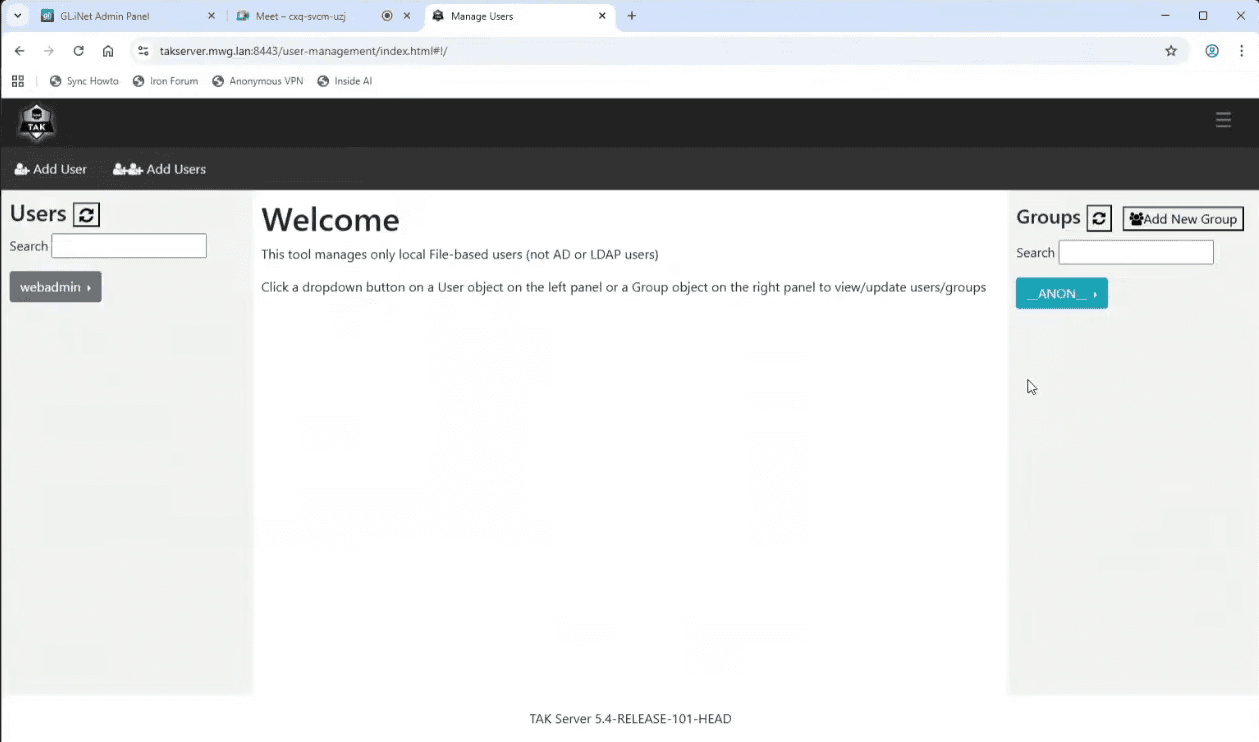
Next let’s go into Menu>Administrative>Manage Users and you can build your teams and manage your users.
Capacity and Deployment Considerations
A Raspberry Pi 5 deployment supports approximately 100 concurrent users for positional information and chat functionality. This capacity assumes you’re not streaming high-definition video or transferring large PDF files. For basic situational awareness operations, this configuration provides remarkable capability in an edge-deployable form factor.
Video streaming significantly increases resource demands. You might manage one or two drone feeds at reduced resolution and bitrate, but high-definition streams will quickly overwhelm the Pi’s processing capacity. For video-heavy deployments, consider upgrading to a mini server with an Intel processor.
For production environments requiring additional capability, Ubuntu Server provides easier Active Directory integration. Rocky Linux remains popular as it matches the TAK Product Center’s development environment. Docker containers can simplify temporary deployments but add overhead and attack surface that may not benefit smaller edge deployments.
Conclusion
Building a TAK Server on a Raspberry Pi delivers impressive situational awareness capability in a compact, power-efficient package. The 46-minute deployment timeline demonstrated in the workshop proves that with proper preparation, anyone can establish their own tactical network infrastructure.
This setup provides the foundation for connecting ATAK, WinTAK, and iTAK clients to share real-time position data, chat messages, and situational information. While certificate enrollment for clients requires additional steps, particularly for devices that cannot access the server directly, the core server infrastructure now stands ready to support your team’s coordination needs.
